
Code 39 barcodes for asset tags in Barcode by Zaweba
When Code 39 is the right barcode, why it only takes capitals, and how to make clean asset tags, badges and industrial labels in Barcode by Zaweba.
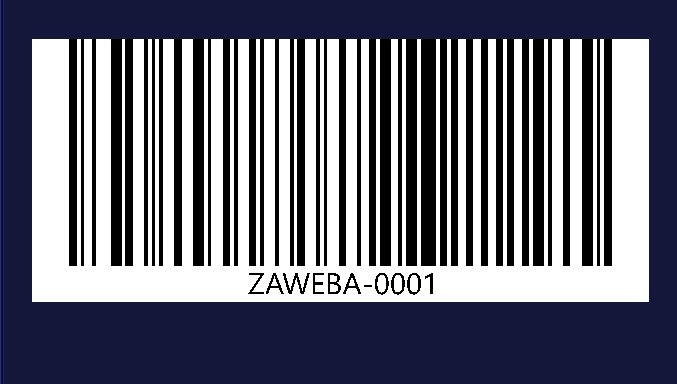
Plenty of older scanning systems were set up years ago around Code 39, and they're still running. Asset registers, staff badges, workshop and industrial labels often expect it. Barcode by Zaweba makes Code 39 alongside its seven other types, and it keeps you inside the character set those systems actually read.
Here's what to know before you print a batch.
What Code 39 holds
Code 39 is an older, widely supported barcode for capital letters, digits and a few symbols. That's enough for most asset numbers and badge numbers, which tend to be short runs of capitals and digits. It is common on asset tags, badges and industrial labels because so many scanners understand it out of the box.
The trade-off is length. For the same text, Code 39 comes out longer than Code 128. On a large tag that hardly matters. On a narrow label it can, so if you have the freedom to choose, Code 128 is usually the more compact option. If a system or a colleague has told you it must be Code 39, stick with Code 39.
Why only capitals
Code 39 takes capitals only, and Barcode by Zaweba limits it to the standard character set. Some scanners can be switched into a special mode that reads a wider set of characters, but that needs setting up on every scanner, and a barcode that only reads on half of them is worse than useless. Keeping to the standard set means any scanner reads it without changes.
So if you type lower-case letters, the app tells you in plain English that this type can't accept them, rather than guessing. Retype the code in capitals and the preview draws it straight away. If your asset numbers really do need lower case, that's a sign Code 128 is the better type for the job.
Making a tag that lasts
Choose Code 39, type the asset number, and watch the preview. On every change it reads the barcode back and says Checked when it reads exactly. If it can't, it tells you why, such as colours too close together or a margin too small.
Set the narrowest bar in millimetres, the height and the margin to suit your tag. Asset tags tend to get scuffed and scanned at awkward angles, under desks and on the backs of monitors, so a taller barcode and a comfortable bar width are worth the extra space. Choose whether the number appears underneath. On an asset tag it nearly always should, so someone can read it out or type it in when the scanner isn't to hand.
Save an SVG or PDF if the tags are going to a print shop, since both keep the bars at the millimetre widths you set. A PNG works well for printing yourself; pick a high dpi so the edges stay crisp.
Printing a whole register
One tag is easy. Two hundred need a plan. Labels by Zaweba has the same barcode creator under Insert > Barcode creator, and its label designer can put a barcode on every label of a sheet, so you can print a run of asset tags onto standard label sheets rather than placing each one by hand. Make one in Barcode by Zaweba first to settle the size and check it reads, then use the same settings there.
Before printing the lot, print a single tag on the real label stock and scan it with the scanner your team actually uses. The app's read-back proves the drawing is right; only a real scanner on a real label proves the printer and stock are too.
Mistakes to avoid
Don't mix types within one register. If your existing tags are Code 39, new ones should be too, or some scanners and software set up for the old tags may reject them. Don't squeeze a long Code 39 onto a small tag by shrinking the bar width to almost nothing; switch to a bigger tag or, where the system allows it, to Code 128.
Get those right and Code 39 will do what it has done for decades: read first time, on almost anything.

