
What is a UPC-A barcode, and how do you make one?
UPC-A is the 12-digit retail barcode used in North America. In Barcode by Zaweba, choose UPC-A, enter 11 digits and the check digit is added.
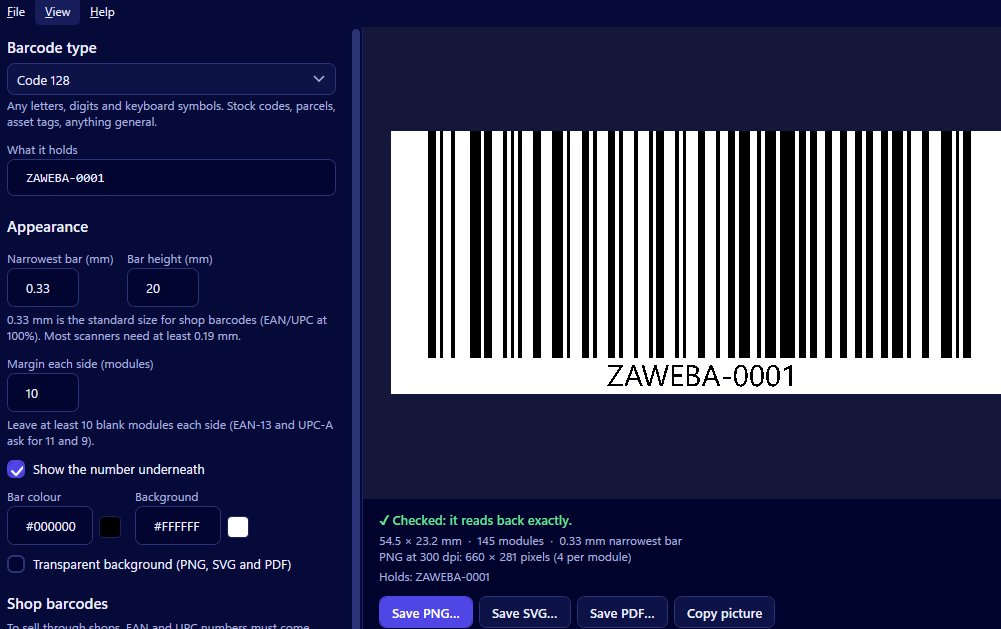
UPC-A is the 12-digit retail barcode used on products sold in North America. To make one, open Barcode by Zaweba, choose UPC-A and enter the first 11 digits; the app adds the 12th, the check digit, and reads the barcode back to confirm it scans. You can then save it as a PNG, SVG or PDF.
The rest of this piece explains where UPC-A fits and walks through making one that holds up on a real product.
UPC-A and its neighbours
There are two big families of retail barcode. In the UK and Europe, products usually carry EAN-13, with 13 digits. In the United States and Canada, they usually carry UPC-A, with 12. Both do the same job: identify a product at the till so the shop's system can look up its price and stock.
So the choice is mostly about where you sell. Choose UPC-A when you're selling into US or Canadian shops. If a buyer there has asked for a UPC, this is what they mean. If you sell in both places, ask your buyers what they need.
The number comes first
The 12 digits aren't made up. They have to be a number properly allocated to you, from your number allocator or supplier. Barcode by Zaweba draws the bars for any valid number, but the number itself is what shops look up, and a borrowed or invented one may already belong to someone else's product.
Once you have your numbers, keep a simple list of which number belongs to which product. That list saves a lot of confusion later.
Creating the UPC-A
Choose UPC-A as the type. Enter 11 digits and the check digit is worked out and added. If you have the full 12, type them all and the app verifies the last one, showing you the correct digit if it's wrong. A wrong check digit usually means a typo earlier in the number, so check the whole thing against your list.
UPC-A accepts digits only, and anything else gets a plain-English explanation.
Watch the preview. On every change it reads the barcode back and says Checked when it reads exactly. If something's off, such as colours too close together, light bars on a dark background, or a margin too small, it tells you. Saving a barcode that doesn't read back asks you first.
Size and finish
Set the narrowest bar in millimetres, the bar height and the margin, and the overall size follows. Keep the margin clear, because it tells the scanner where the code begins and ends. Show the digits underneath so a cashier can type them if a scan fails. Choose bar and background colours with strong contrast.
For packaging, save an SVG; it's vector, measured in millimetres, and places at its true size at 100 per cent. A PDF gives a single vector page the size of the code. A PNG at 300 dpi or more suits labels printed at home, and Copy picture drops the barcode into a spec sheet or email.
Before it goes on the shelf
Print a proof on the real packaging material and scan it with a real scanner. The app's read-back proves the barcode is drawn correctly, but shiny film, curved bottles and coloured card can all change how a printed code behaves.
If you're labelling many products on label sheets, the same barcode creator is built into Labels by Zaweba, under Insert > Barcode creator, with a Put on the label button.
Get the number from the right place, let Barcode by Zaweba handle the check digit, and test one print. That's all a UPC-A needs.

