
Backing up folders with the Backup Assistant in Burn by Zaweba
How the Backup Assistant in Burn by Zaweba turns a list of folders into planned, burned and checked backup discs, and how to set it up well.
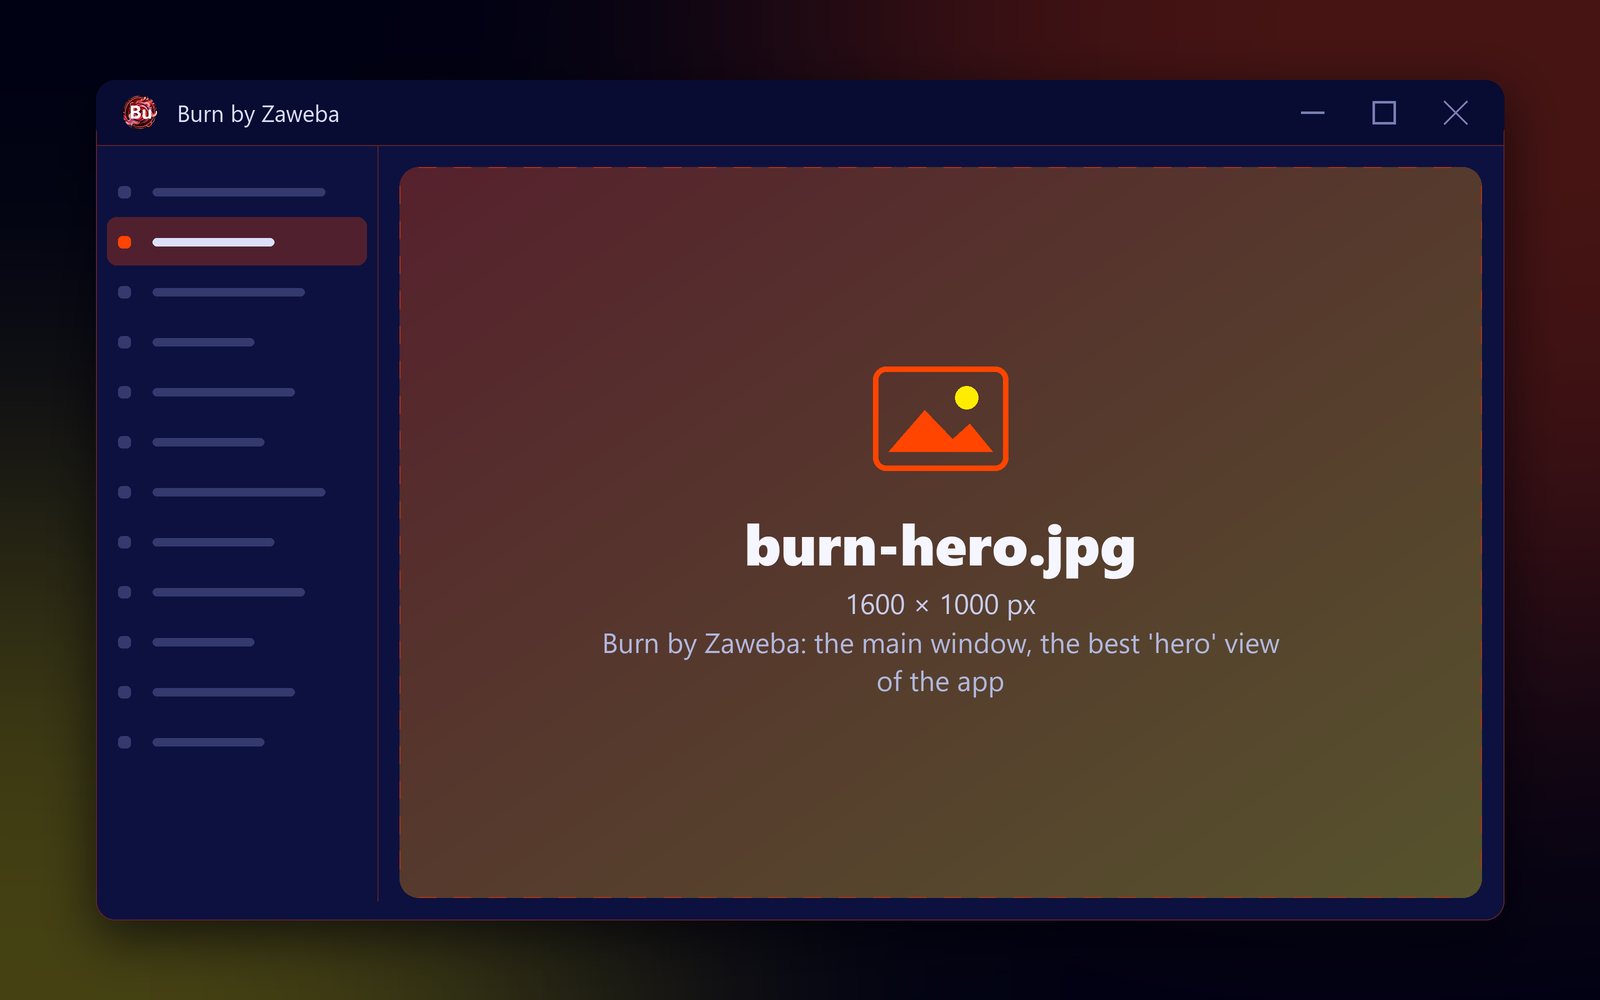
Most people who open a disc program want to keep their files safe, so the biggest tile on the home screen of Burn by Zaweba is the Backup Assistant. It is the front door of Burn 2.0, and it is built around one idea: you say what to keep, and Burn works out the discs.
You don't have to think in terms of file systems, sessions or disc layouts. You think in terms of folders, and the assistant handles the rest.
Three ways in
The Backup Assistant has its own tile on Home. It is also on the File menu as New backup, with the shortcut Ctrl+B, which is handy once you know your way around. The third way starts in Windows itself: if you have turned on Burn's Explorer commands, right-click a folder and choose Back up with Zaweba. That opens the assistant with the folder already in place, which is often the quickest route when you are already looking at the files you care about.
Building a backup set
Everything you choose in the assistant goes into a backup set. Start with the folders to keep safe. Add as many as the job needs: a photos folder, a documents folder and a folder of scanned letters can all sit in the same set.
Then decide which files come along. You can take every kind of file, or only chosen kinds, so a photo backup can be just pictures and a work backup just documents. You can also name kinds to leave out, which is useful when a folder is full of things you can easily get again. Hidden and system files are left out, so the clutter Windows keeps in folders doesn't fill your discs.
Last comes the disc size. Pick the size of the blank discs you actually have. The plan depends on it, so it is worth getting right before you start.
What Burn does next
With the set described, Burn plans how many discs the backup will take and then burns them. If everything fits on one, you burn one. If it doesn't, Burn spreads the backup across several discs and asks for each in turn, and every disc carries an index that explains the whole backup. After burning, each file is read back and compared with a fingerprint taken beforehand, unless you have turned that check off in Settings.
When the job finishes, the backup is saved. It appears on the home screen as a chip, so the next time you want the same backup it is a single click away.
Getting a good result
Keep sets focused. A set called Photos and another called Paperwork are easier to repeat, restore and label than one enormous set of everything. Smaller sets also mean fewer discs to swap when you only need one kind of file back.
Leave the check after burning switched on. It adds a few minutes, but a backup you haven't checked is a guess. If a disc fails, you can burn it again there and then, while the blank discs and the files are in front of you.
Label the discs as you go. After a backup, Burn offers printable labels, one per disc, such as Disc 2 of 3, which saves a lot of squinting at blank discs later.
How the assistant ties in
The assistant ties together several other parts of Burn. The Backup log records every run, Restore from backup discs brings files back on any PC, and the option to back up only what changed since last time keeps later backups small. If you only want to put a handful of files on a disc with no backup planning at all, a plain data disc from Home is the simpler choice. For anything you would be upset to lose, start with the Backup Assistant.

