
How to save part of the screen as a named JPG
Press Ctrl+Alt+C with Clip by Zaweba running, snip the area, say or type a name and press Enter. It's saved as a named JPG in Pictures\Clips.
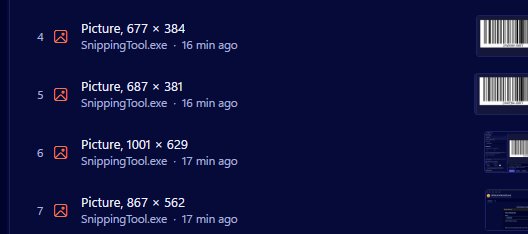
The quickest way is Quick clip in Clip by Zaweba. Press Ctrl+Alt+C, drag across the part of the screen you want, then say or type a name and press Enter. The snip is saved straight away as a JPG with that name, in lower-case hyphenated words, in your Pictures\Clips folder.
No image editor, no Save As dialog and no renaming a file called Screenshot afterwards.
What you need
Just Clip by Zaweba, running in the tray. Quick clip is part of the app, alongside the clipboard history. If Clip starts when you sign in, which is an optional setting, Ctrl+Alt+C is ready whenever you need it.
The snipping itself uses Windows' own snipping overlay, so the way you select an area will feel familiar.
Snip, name, save
Press Ctrl+Alt+C and the snipping overlay appears. Drag a rectangle around the part you want.
When you let go, a name box opens in front of everything else. Windows voice typing, the one you can start with Win+H, can start in that box, so you can say the name aloud. Or simply type it.
Press Enter. The file is saved. A name like checkout page error message becomes checkout-page-error-message.jpg. It goes into Pictures\Clips, and you can change that folder if you'd like your snips somewhere else.
Names and files
Quick clip never overwrites anything. Save a second snip with the same name and it becomes the same name with -2 on the end, then -3, and so on. That makes it easy to take a series of shots of the same thing without stopping to think up new names.
The JPG quality is 85 by default, a good balance between clear text and small files. JPG has no transparency, so any see-through parts of what you snip become white.
Getting a good result
Name for finding. Put the most important word first, such as the project, the program or the customer, so related files sort together in the folder. Add what the picture shows after that. Short, plain names work best, and they're easier to say clearly for voice typing.
Glance at the name before pressing Enter. Voice typing is good, but it can mishear an unusual word, and a quick check saves renaming later.
Snip tight. Selecting just the part that matters, rather than the whole window, makes for smaller files and pictures that make their point at once.
When you've already copied the picture
If the picture is already on your clipboard, perhaps copied from a web page or taken with another tool, you don't need to snip it again. Clip keeps copied pictures in its history, and the History page in the main window has Save as JPG, which saves the picture with the same naming rules, the same folder and the same quality as Quick clip.
Other ways to do it
Windows' own screenshot tools can capture an area and save it, but you'll usually name the file afterwards. Pasting a screenshot into an image editor and saving it works too, with more steps. Quick clip is built for the moment you want to capture and name in one go.
It all stays on your PC. Clip by Zaweba has no account and no cloud, so your snips go nowhere except the folder you chose.

