
Fine-tuning a pick in the zoom view of Colour by Zaweba
After each pick, Colour by Zaweba shows the 81 by 81 pixels around it. Click a pixel or use the arrow keys to move the pick without starting again.
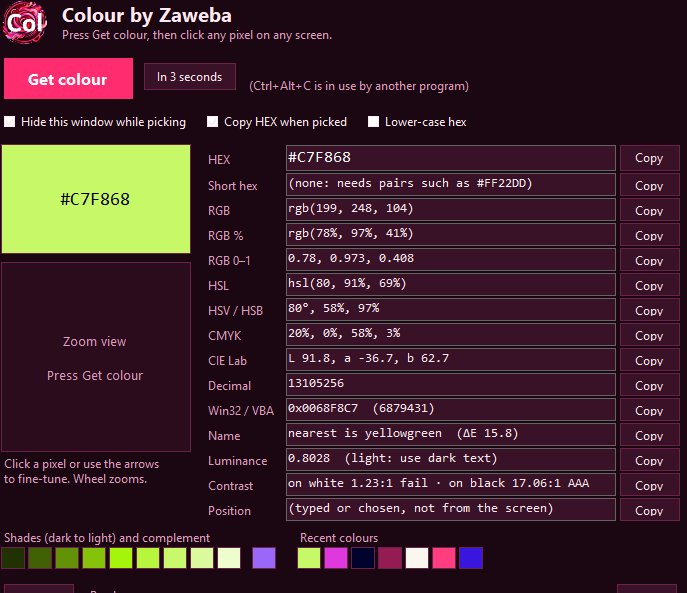
Getting the right pixel first time isn't always possible, especially on small icons and thin lines. That's why, after every pick, Colour by Zaweba shows a zoom view of the 81 by 81 pixels around the spot you chose, and lets you move the pick to a neighbouring pixel without going back to the screen.
This article covers what the zoom view shows, how to use it to correct a pick, and how it fits with the magnifier you use during the pick itself.
What the enlarged grid shows you
Once you've clicked to take a colour, Colour's main window comes back with the values listed and, alongside them, an enlarged grid of the area around your pick. It's 81 pixels across and 81 down, with your chosen pixel in the middle. Because it comes from the same frozen picture the magnifier used, it's the screen exactly as it was when you started, not whatever has changed since.
That matters more than it sounds. Text on screen is smoothed, so the letters are surrounded by pixels part way between the ink and the paper. Icons are drawn with soft edges. Photos have noise. At normal size a one pixel line looks like one flat colour, but enlarged you can see it's a band of slightly different shades. The zoom view puts all that in front of you so you can tell whether you've got the colour you meant.
Moving the pick without starting again
To change the pick, click any pixel in the zoom view. The pick moves there and every value in the window updates: HEX, RGB, HSL, CMYK and the rest, along with the nearest CSS colour name, the contrast grades and the shades. You can also use the arrow keys to step to the next pixel up, down, left or right, watching the values change as you go.
This is the quickest way to settle whether a border is really grey or a very pale blue. Step across it one pixel at a time and see where the numbers settle. Or find the darkest pixel in a line of text when you want the real ink colour rather than a blend.
Zoom view or magnifier: which is for what
Colour has two places to work at pixel level, and they suit different moments. The magnifier appears during the pick. It follows the pointer over the frozen desktop, zooms from x3 to x32 with the wheel or the plus and minus keys, and lets you nudge by one pixel with the arrow keys or by ten with Shift. It's where you do the aiming.
The zoom view is for afterwards. You've already picked, the window is back, and you realise you're one pixel off, or you want to compare two neighbours. Rather than pressing Get colour again and finding the same spot, you correct it there and then. Between them you rarely need a second attempt.
Trusting the colour you've got
When you're matching a flat colour, such as a button background or a logo fill, pick from somewhere in the middle and then glance at the zoom view to check the pixels around it are the same. If they are, you can trust the value. If they vary, you've likely caught a gradient, a shadow or a texture, and it's worth stepping around to find the most typical pixel.
For artists borrowing colours from a reference photo, the zoom view is a quick way to sample a few neighbours and keep the one that looks right, rather than the one that happened to be under the pointer. Each pick also goes into your recent colours, so you can load an earlier one again with a click if you change your mind.
On Windows it works as described here. On a Mac, picking goes through macOS's own colour sampler, and there the zoom view can't fine-tune a pick. Either way it's a small window onto a small area, and on Windows it turns a near miss into an exact match in one click.

