
How to change the background colour behind pictures
In Image Viewer by Zaweba's Settings, choose white, light grey, dark grey or black as the surround for your pictures. Full screen always uses black.
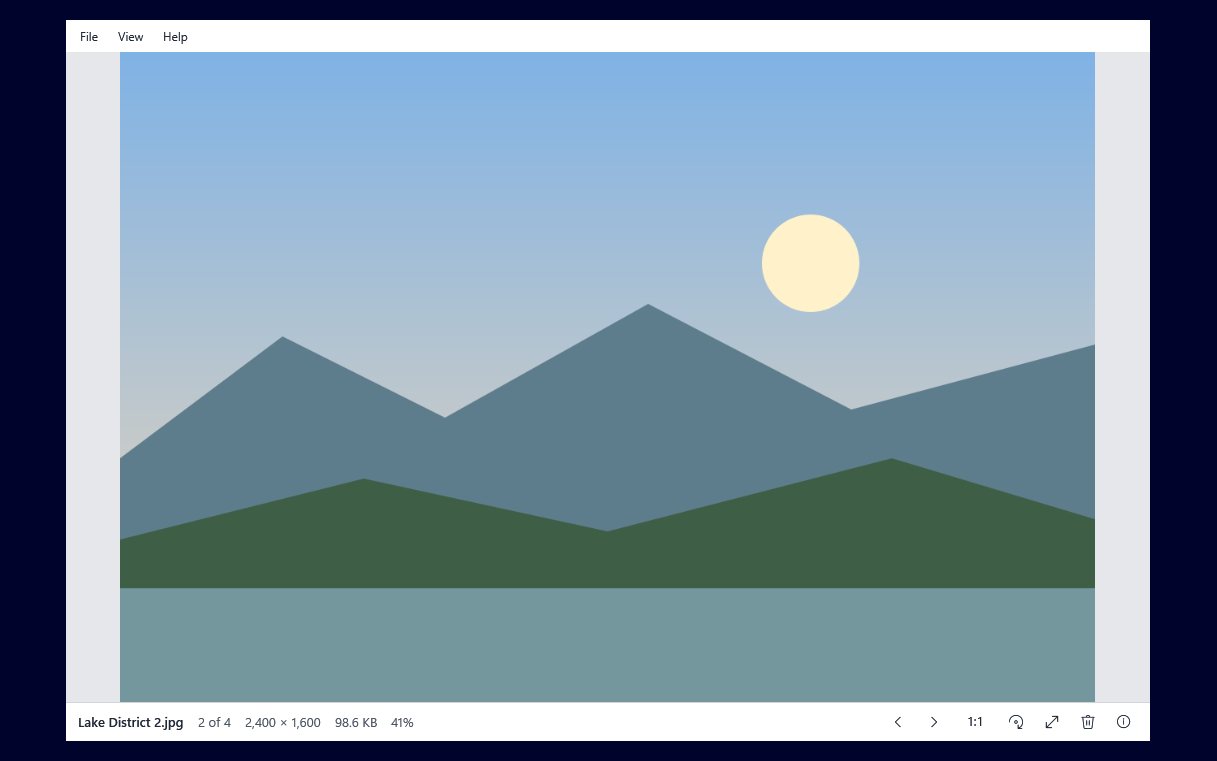
Open Settings in Image Viewer by Zaweba and choose the picture surround: white, light grey, dark grey or black. The colour fills the window around any picture that doesn't cover it, such as a tall photo in a wide window. Full screen is always black, whatever you pick.
It seems a small thing, but the colour around a picture changes how you see it. Bright surrounds make photos look darker and can be tiring in the evening; black makes colours look richer but can hide the edges of dark images.
Choosing a shade
White is crisp and matches documents and most websites, so it suits screenshots, diagrams and scans of paper. The edges of a white page disappear into it, though, so you may not see where a scan ends.
Light grey is a gentle all-rounder. It shows the edges of both white and dark pictures and is easy on the eyes in a bright room.
Dark grey is the choice many photographers make. It lets colours stand out without the hard contrast of black, and it is kinder in a dim room.
Black gives the most cinematic look and makes the picture the brightest thing on screen. It can swallow the edges of night shots and dark logos.
Changing it
Open Settings, find the picture surround choice and click the shade you want. The change shows behind your current picture, so you can judge it against a real photo rather than an empty window. Close Settings and carry on stepping through the folder.
Full screen and slideshows
Press F11 or Enter for full screen, or F5 for a slideshow. Both are always on black, with no menu, and the bottom bar appears only when the pointer nears the bottom of the screen. That keeps full screen consistent for showing pictures to other people, while your chosen shade applies to everyday viewing in a window.
Other settings in the same place
The Settings window holds a short list of other choices, so it is worth knowing what is there while you are in it.
Save rotations has three options: Ask, Always or Never. It decides what happens when you turn a picture with R or L and then leave it.
The slideshow interval sets how long each picture stays on screen during F5. The default is 3 seconds; lengthen it for a relaxed show at a family gathering or shorten it to skim a big folder.
You can also choose whether to confirm deletes. With confirmation on, Del asks before sending a picture to the Recycle Bin; with it off, Del sends it straight away and the next picture appears. Turn it off only when you are confident, such as when weeding a folder you have already looked through.
Image Viewer also remembers where you left the window and your recent files, so it opens where you expect next time.
Getting a consistent view
When you are comparing photos, such as choosing which of several shots to keep, settle on one surround and leave it. Switching between black and white makes the same picture look brighter or darker, which can push you towards the wrong choice. Mid or dark grey is a sensible fixed choice for photographs, and white for paperwork.
That is all there is to it: one setting, four shades, and the picture always stays the centre of attention.

