
Deleting photos safely to the Recycle Bin in Image Viewer
In Image Viewer by Zaweba, Del sends the picture to the Recycle Bin after a confirmation you can switch off, then shows the next one.
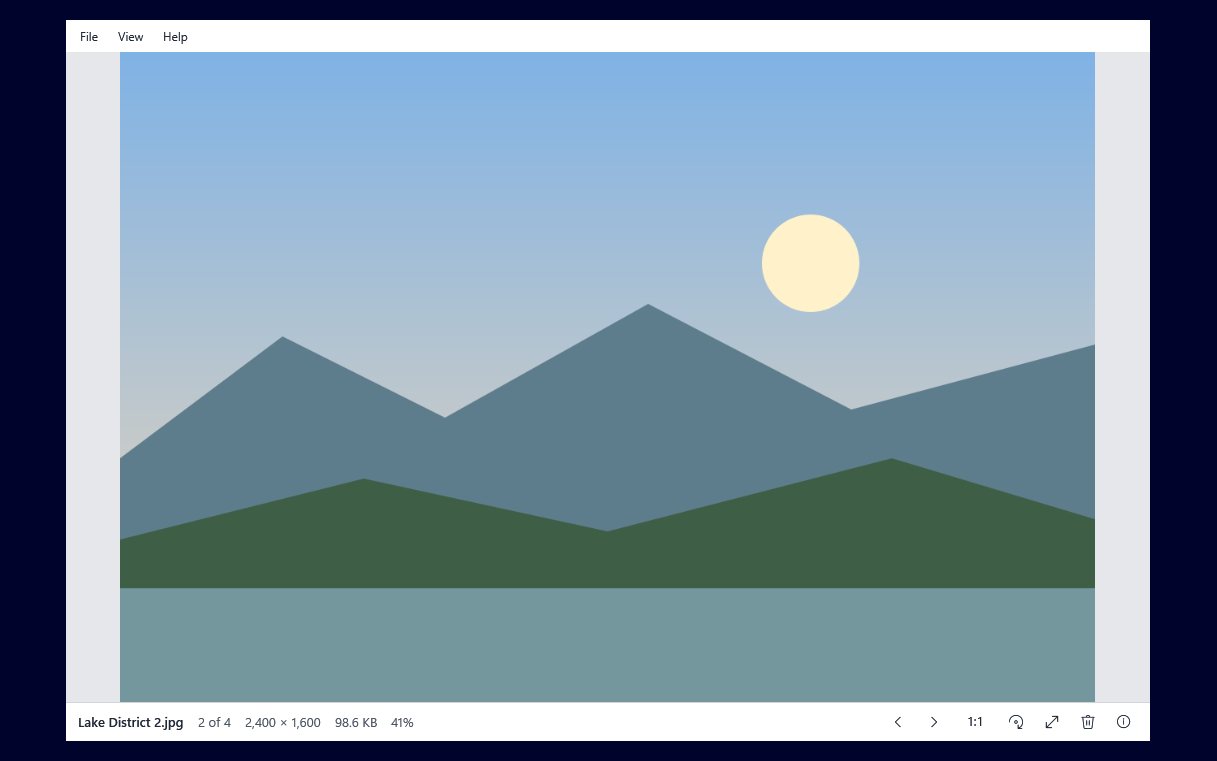
Deleting the bad shots is half the work of looking through photos. Image Viewer by Zaweba makes it a single key: press Del and the picture goes to the Windows Recycle Bin, then the next picture appears so you can carry on. Nothing is removed for good, because the Recycle Bin keeps it until you empty it.
How it works
Open any picture in the folder you want to tidy. Step through with the arrow keys, Space and Backspace or the mouse back and forward buttons. When you reach a picture you do not want, press Del, or click the delete button on the bottom bar.
By default a confirmation asks before the file goes. Say yes and the file moves to the Recycle Bin. The viewer then shows the next picture in the folder, and the position on the bottom bar updates, so 12 of 87 becomes 12 of 86.
The folder is watched while you look, so the list of pictures stays correct even if something changes outside the viewer. If the picture on screen is deleted by another program, the next one shows.
Turning the confirmation off
The confirmation is a safety net, and for a first look through precious photos it is worth keeping. When you are weeding a large folder of near duplicates it can slow you down. Settings has an option for whether to confirm deletes; untick it and Del sends the picture straight to the Recycle Bin.
Since the file still goes to the Recycle Bin, a mistake is easy to undo. Open the Recycle Bin from the desktop, find the file and restore it to its folder. The folder watcher notices it coming back.
A sensible way to weed a folder
Start at the first picture (Home takes you there) and step through in order. Make quick decisions: keep or delete. Don't stop to rename or rotate on the first pass, because jumping between jobs is what makes sorting photos feel endless.
When two shots look alike, zoom in before deciding. Press 1 or A for actual pixels and compare focus on the eyes or the main subject, then F to fit again. Double-click also swaps between fit and 100 percent. The sharper one stays.
Once you reach the end, stepping on takes you back to the first picture with Back at start of dir shown briefly in the middle of the picture. That is your signal that you have seen the lot. A second, slower pass is the time for rotating, renaming with F2 and moving on.
Mistakes to avoid
Don't empty the Recycle Bin straight after a big clear out. Leave it a day or two; it costs nothing and gives you time to notice a picture you meant to keep.
Be careful on network drives and removable cards. Windows decides what happens to files deleted there, and some locations do not use the Recycle Bin in the usual way. If in doubt, copy the folder to your PC first and weed the copy.
Remember that Del acts on the file, not just the view. It is not a hide button. If you want to set pictures aside rather than lose them, make a folder for them in Explorer instead; Show in Explorer opens the folder with the current file selected, ready to move.
The Trash on a Mac or Linux PC
The Mac and Linux version of Image Viewer has the same idea, with delete sending the picture to the Trash instead of the Recycle Bin.
Deleting is a small feature, but done this way it turns a viewer into a quick sorting tool. One key, a safety net you control, and the next picture already on screen.

