
How to turn PDF pages into JPG or PNG images
Save PDF pages as PNG, JPEG or a multi-page TIFF at 72 to 600 dpi with File > Export in PDF by Zaweba. Free, offline and with no uploading.
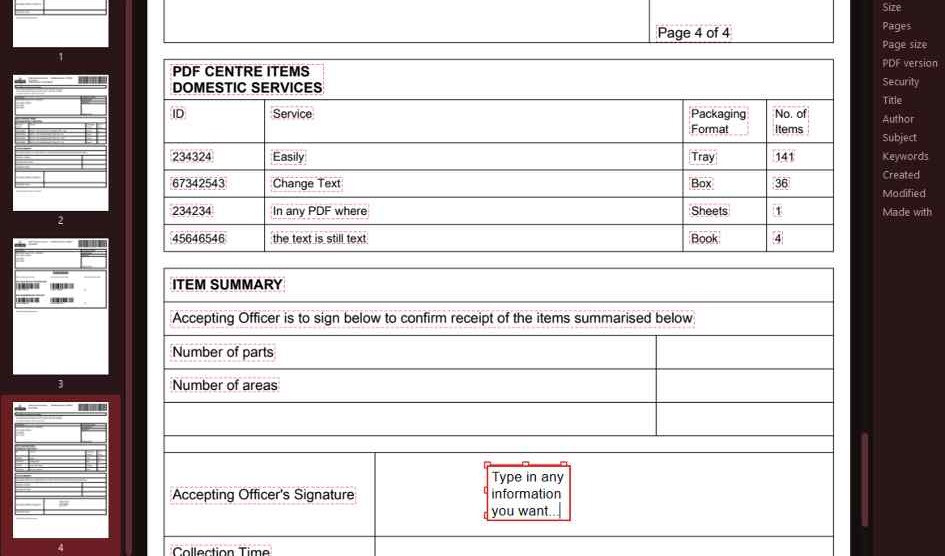
Open the PDF in PDF by Zaweba and choose File > Export, then pick PNG, JPEG or a multi-page TIFF. You set the resolution anywhere from 72 to 600 dpi, and the pages are saved as pictures on your own computer, with nothing uploaded to a converter website.
Turning pages into pictures is one of the most common things people need a PDF for. A page of a menu for a social media post, a slide from a handout for a website, a scanned form to attach somewhere that only takes images: all of them start with a page that has to become a JPG or PNG.
PNG, JPEG or TIFF
The three formats suit different jobs, and it's worth a moment's thought before you export.
PNG keeps every pixel exactly. Text stays crisp, flat colours stay flat and there are no smudgy edges round letters. Pick PNG for pages that are mostly text, diagrams, charts or anything with sharp lines. Files are larger than JPEG for photographic pages, but for a page of words they're often small.
JPEG is the one to choose when the page is mostly photographs, such as a brochure or a photo book page. It makes much smaller files from photos, and the slight softness it brings is hard to see in a picture. On a page of plain text, though, JPEG can leave faint speckles round letters.
A multi-page TIFF puts all the pages in one picture file, one frame per page. Some document systems, fax services and archives ask for exactly that, so if you've been told to send a TIFF, this is how to make one.
Choosing the resolution
Dots per inch decide how many pixels each page gets. At 72 dpi an A4 page comes out about the size it looks on a screen at normal zoom, which is fine for a quick preview or a small thumbnail on a web page. At 150 dpi it's comfortable to read on a laptop or phone. Around 300 dpi is the usual choice for anything that might be printed or zoomed into. And 600 dpi gives very large, very detailed pictures, good for fine technical drawings or small print, at the cost of big files.
If you're not sure, start at 150 for screen use and 300 for print. You can always export again at a different setting, since the PDF itself never changes.
Exporting the pages
With the PDF open, choose File > Export and select the picture format you want. Set the resolution, choose where the files should go and save. Using an empty folder keeps the pictures together and makes them easy to find afterwards.
If you only need part of a page, not the whole thing, Edit > Take a snapshot is quicker. Drag round the area and it's copied as a picture you can paste anywhere. And if the page holds a photo you want on its own, Edit > Copy a picture copies just that photo at its own size.
Getting the pictures you expected
A few small checks save a second export. If a page has comments, highlights or stamps on it, decide whether you want them in the picture before exporting. If the pages are rotated the wrong way, turn them with Ctrl+R first, and the pictures come out the right way up. And if a page has a lot of white margin, Pages > Crop pages or Remove white margins can trim it before you export, so the picture is all content.
For people who do this often, there's also a command line. ZawebaPDF.exe --render draws a chosen page at a chosen dpi to a PNG file, which is handy in a script or a batch job.
PDF by Zaweba is free software for Windows that works offline with no account. Your pages become pictures without leaving your PC.

