
New, duplicate and delete scenes in Scene by Zaweba
Start a scene from scratch, duplicate a built-in one to customise it, or delete your own. Here's how Scene by Zaweba keeps your scenes and where they live.
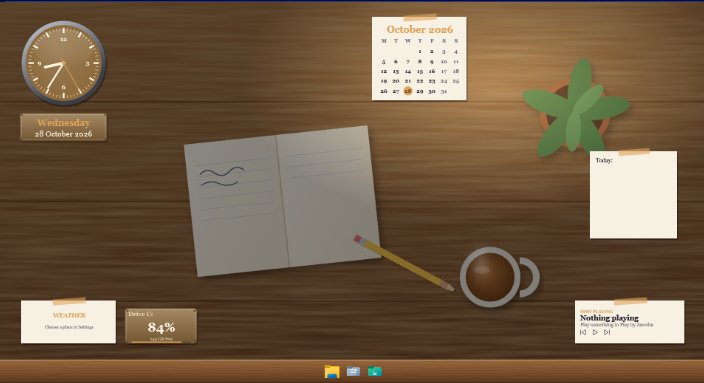
Making a scene your own starts with a copy. The nine built-in scenes in Scene by Zaweba are read-only, which keeps them safe as a starting point. To change one, you duplicate it, and the copy is yours to edit, rename or delete. You can also start from a blank scene.
It's a simple system, but knowing how it works saves confusion about where your changes went.
Three ways to get a scene of your own
File, New scene creates a fresh scene. Use it when you have a wallpaper in mind and want to build the rest around it.
Scene, Duplicate copies the selected scene. This is the way to customise a built-in one: duplicate the Cockpit, say, and change the gauges, the wallpaper or the launcher texture in the copy. Choosing Edit on a built-in scene also makes a copy rather than changing the original.
Arranging widgets on the desktop is the third. If you use Arrange mode on a built-in scene and press Done, Scene saves your layout as a user copy named with "(my layout)" on the end. The original stays as it was.
Deleting
Delete removes your own scenes. Built-in scenes can't be deleted, which means you always have the originals to go back to. If a copy has gone wrong, delete it and duplicate the built-in scene again.
Where your scenes live
Your scenes are folders in %APPDATA%\Zaweba\Scene\scenes. Scene, Open my scenes folder takes you straight there in File Explorer. Each scene's folder holds its scene.json and its wallpaper, images and sounds.
Knowing the folder is useful in two cases. One is backing up: copy the folder somewhere safe and your scenes are kept. The other is making scenes by hand. FORMAT.md, opened from Help, Making your own scenes, describes scene.json, wallpapers, widgets, data feeds and the rest, with a template folder to start from.
A sensible way to work
Duplicate the built-in scene closest to what you want, rather than starting from nothing. Rename the copy straight away so you can tell it apart. Make one change at a time in the editor and use Preview on desktop to see it on your real screens; Stop preview ends it. Save when you're happy.
When you're trying a big change, duplicate your own scene first and experiment on the copy. Duplicating is cheap, and having the previous version to switch back to is worth a lot.
Notes from the notes widget are carried across when a scene is copied, so a duplicate keeps your reminders.
Sharing and receiving
To give a scene to someone, export it with File, Export (Ctrl+E) as a .zscene file, which is a zipped scene folder. To bring one in, use File, Import (Ctrl+O), Recent files, or simply open the .zscene with Scene. If the imported scene's id clashes with one you already have, Scene renames it rather than overwriting yours.
Tidying up
Over time you'll gather experiments. Delete the ones you don't use from the Scenes tab; the built-in nine are always there regardless. Scene by Zaweba only ever deletes what's yours, and only when you ask.

