
How to install a .scr screensaver file on Windows
Install a .scr screensaver without administrator rights: build it into your profile with Screensavers by Zaweba, or right-click the file and choose Install.
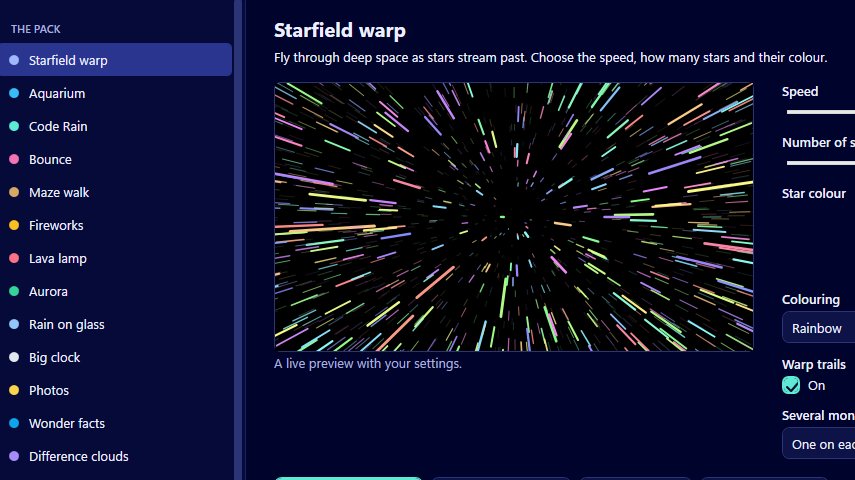
A .scr file is installed in one of two ways. If it's one of the screensavers in Screensavers by Zaweba, select it in the manager and press Use this screensaver: the app builds the .scr into your own Windows profile, with no administrator rights, and opens Windows' Screen Saver Settings so you can choose it. If you have a .scr file from somewhere else, right-click it in File Explorer and choose Install.
That covers most people. The rest of this article explains what a .scr file actually is, why the profile route avoids the usual permission prompts, and what to do once Windows has the screensaver in its list.
What sits inside a .scr file
A screensaver on Windows is just a program with a different file ending. Windows starts it when the PC has been idle for long enough, and asks it to stop when you come back. In Screensavers by Zaweba every .scr is a single file: a small host program, followed by a zip of the screensaver's own web files. The host is about 0.93 MB, so even with its pictures and code inside, a screensaver stays small enough to copy around easily.
Because it's one file, you can keep it anywhere. Nothing else needs to travel with it.
Installing from the manager
Open Screensavers by Zaweba and pick a screensaver from the list. Its live preview plays beside the settings, so change whatever you like first and watch the preview follow. When you're happy, press Use this screensaver. Two things happen. The .scr is built into your profile, and Windows' own Screen Saver Settings dialog opens. In that dialog choose the screensaver from the drop-down, set the wait time, and tick the option to show the sign-in screen on resume if you want a password when you come back.
There's no reinstalling when you change your mind about the settings later. Each screensaver reads its settings when it starts, so a change in the manager applies the next time it runs, without a rebuild.
If you'd like more than one, tick several and use Install several. That builds them into a single Zaweba screensavers.scr which picks one at random each time it starts.
Why no administrator rights are needed
Windows only lists the screensavers that live in its System32 folder, plus the one currently chosen. Copying files into System32 needs administrator rights, which is why so many older screensaver installers asked for them. Screensavers by Zaweba sidesteps that by building into your profile and making its screensaver the current one. You get it in the list without touching the system folders, and other people who use the PC keep their own choice.
The random pick from Install several works the same way. Rather than putting several files in System32, it puts one file in your profile that chooses among them.
Installing a .scr you were given
Perhaps a friend saved one of their screensavers with Save .scr file and sent it to you. Put the file somewhere sensible first, such as a folder in Documents, because Windows remembers where it is. Then right-click it and choose Install. Windows opens Screen Saver Settings with that screensaver selected, and you set the wait time from there. To try it without installing, right-click and choose Test instead.
Only install .scr files you trust. A .scr is a program, so treat one from an unknown website the way you'd treat any unknown .exe.
If the screensaver doesn't appear
Open File, then Windows screensaver settings, from the manager to get straight to Windows' dialog and check which screensaver is selected. The Your screensavers list in the manager shows everything that has been built, with Use, Try it and Delete buttons, so pressing Use on the right entry puts it back as the current one. If you moved a .scr you installed by right-clicking, install it again from its new home.
Once it's set, wait out the timer or use Preview full screen in the manager to see it as it will look. Move the mouse, press a key or click, and you're back at your desktop.

