
Cropping a screenshot in Snap by Zaweba
The crop tool in Snap by Zaweba trims a capture to just what matters, keeps the original in the .ozsnap file for later, and shares only what is inside the crop.
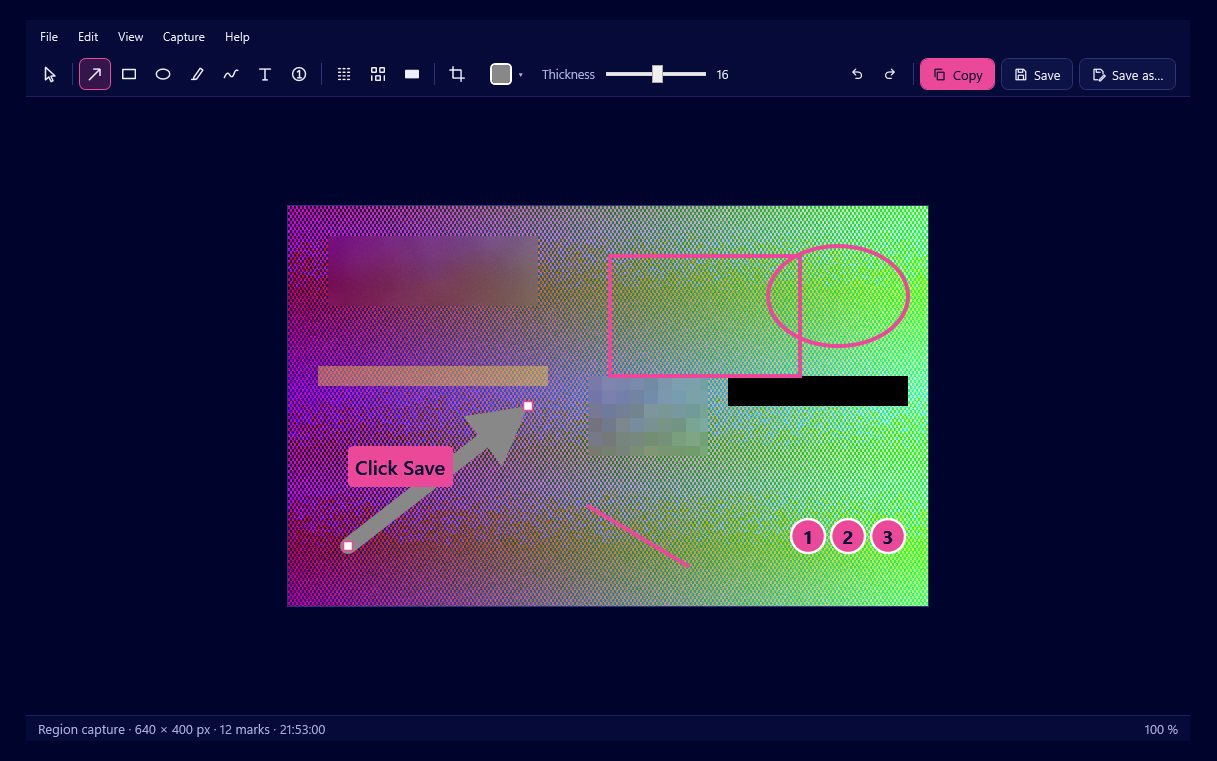
A capture rarely comes out exactly the right size the first time. The crop tool in Snap by Zaweba's editor fixes that after the fact: draw the area you want to keep, and the picture is trimmed to it. Exports, copies and saved pictures all use the cropped result, so only what is inside the crop is ever shared.
What makes it more forgiving than most is that the original is not thrown away. It stays in the editable .ozsnap file, so you can come back later and change the crop.
Why crop at all
Region capture is precise. You drag a rectangle with a live width and height label, and a magnifier at 8 times lets you set an edge to the exact pixel. So why crop afterwards?
Because the right size often only becomes clear once you start marking up. You add an arrow and realise the toolbar on the left is irrelevant. You add a numbered step and see that the picture needs a little more room at the bottom. Or you used full screen or window capture to grab quickly, and now want just one panel of it.
A tighter picture is also a clearer one. In a bug report or a set of instructions, everything in the frame competes for attention. Cropping to the part that matters lets your arrows and text do their job.
Leaving private things outside the frame
Cropping is also a way to keep things out of a picture. A capture of a whole window might include a browser tab title, a list of recent files or a name in a corner. Crop them out and they are gone from what you share, since exports contain only what is inside the crop.
Redactions are applied before the crop. If you have blurred, pixelated or blacked out something, that change goes into the actual pixels first, and then the picture is trimmed. Both protections work together.
Changing your mind later
Because the original capture stays in the .ozsnap file, a crop is not final. Reopen the screenshot from the History menu or from a saved .ozsnap, and you can widen the crop to bring back something you cut off, or tighten it further. Your marks are still editable too.
That is handy when the same capture serves two purposes. A wide crop for a document, a tight one for a chat message, both from one capture.
It is also why you should share a PNG or JPG rather than the .ozsnap itself. The .ozsnap holds the unblurred, uncropped original, which is exactly what makes it editable and exactly what you do not want to send to someone else.
Getting a good crop
Crop after you have added most of your marks, so you can see what the picture needs. Leave a little space around the important part rather than cropping right to its edge; arrows and text need room to breathe. If you need precision, zoom in with Ctrl and the mouse wheel, and use Ctrl+1 to see actual pixels or Ctrl+0 to fit the picture to the window.
And because the original is always kept, trying a crop costs nothing. If it looks wrong, change it.
How it fits with the rest
A typical capture goes like this: press Print Screen, drag a box, add an arrow or a numbered step, blur anything private, crop to the part that matters, then press Ctrl+C to copy or Ctrl+S to save as PNG or JPG into Pictures\Snap by Zaweba with a dated name. Your last 50 captures stay in the history as .ozsnap files, cropped or not, with every mark still editable.
Cropping takes a few seconds and makes most screenshots better, and in Snap by Zaweba it never closes the door on the rest of the picture.

