
Taking a screenshot from Snap into Paint by Zaweba
When Paint by Zaweba is installed, Snap by Zaweba shows a button that saves a flattened PNG and opens it in Paint for retouching the picture itself.
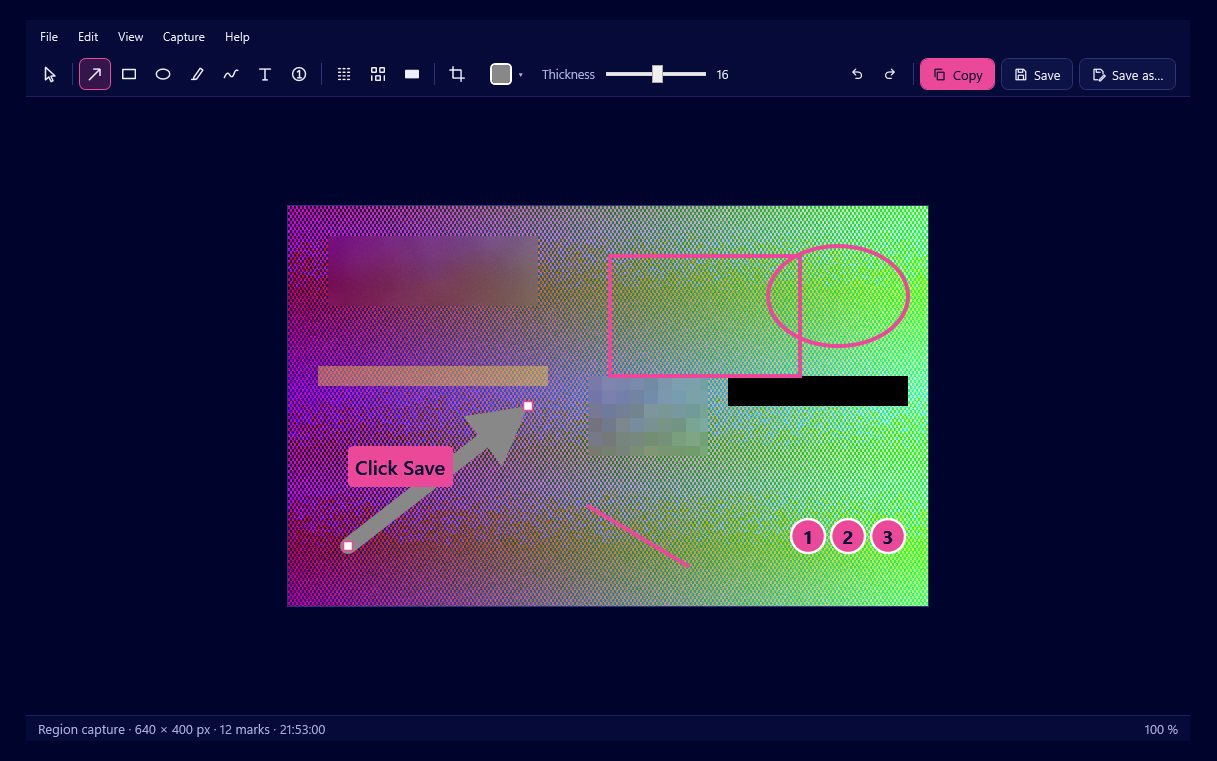
Marking up screenshots is what Snap by Zaweba is made for, with arrows, boxes, text, numbered steps and blur. Sometimes you need to change the picture itself rather than draw on top of it, and for that there is a button to hand the capture to Paint by Zaweba. It saves a flattened PNG and opens it in Paint, ready for more detailed editing.
The button only appears when Paint is installed. Snap learns that from the Zaweba suite registry, so there is no setting to find. If Paint is on the PC, the button is there.
Marks versus retouching
It helps to be clear what each app is for. Snap's tools add marks on top of the capture, and those marks stay separate and editable. That is perfect for explaining something: point at it, label it, number the steps, hide what is private.
Retouching is different. Removing an unwanted element so the picture looks as though it was never there, adjusting colours, combining two captures, painting over a background: those change the pixels of the picture itself, and that is Paint's job. If what you want to do is draw an arrow, stay in Snap. If what you want to do would make the screenshot look different without looking marked up, go to Paint.
What flattened means
When you press the button, Snap saves a PNG with everything merged into one picture: the capture, the crop and every mark you added. In Paint it opens as a normal image. Your arrows and text are now part of the pixels, which is what you want if you are carrying on in an image editor.
The original stays in Snap. The capture is still in Snap's history of your last 50, as an editable .ozsnap with every mark separate. If you change your mind about an arrow after going to Paint, go back to Snap, change it there, and send it across again.
Doing it in the right order
Because the PNG is flattened, it pays to do things in a sensible order.
Decide early whether a capture needs retouching at all. If it only needs explaining, keep it in Snap, where every mark stays editable to the end. If it needs real picture work, think about which marks you want baked in before you send it, and leave the rest to add in Paint.
If you have already marked it up, check everything before you press the button: arrows in the right place, text spelled right, blur covering what it should. Fixing a mark in Snap is a click; fixing it once it is part of the pixels is real work.
Redactions are applied to the actual pixels when a picture is exported, so anything you blurred, pixelated or blacked out in Snap is hidden in the flattened PNG as well.
Good jobs for Paint
Tidying a screenshot for a manual or a website, where it should look clean rather than annotated. Removing a stray notification that popped up just as you captured. Putting two captures side by side to compare a before and after. Adjusting a capture so it matches the look of other pictures in a document.
When to stay in Snap
For bug reports, quick instructions and anything you will send in a chat or an email, Snap's own tools are usually enough and faster. Ctrl+C copies the result as a picture, ready to paste, and Ctrl+S saves PNG or JPG into Pictures\Snap by Zaweba with a dated name.
The two apps work best side by side: Snap for capture and explanation, Paint by Zaweba for the picture work that goes beyond it.

