
How to crop a screenshot and change the crop later
Crop a screenshot with the crop tool in Snap by Zaweba's editor. The original is kept in the editable file, so you can widen the crop again later.
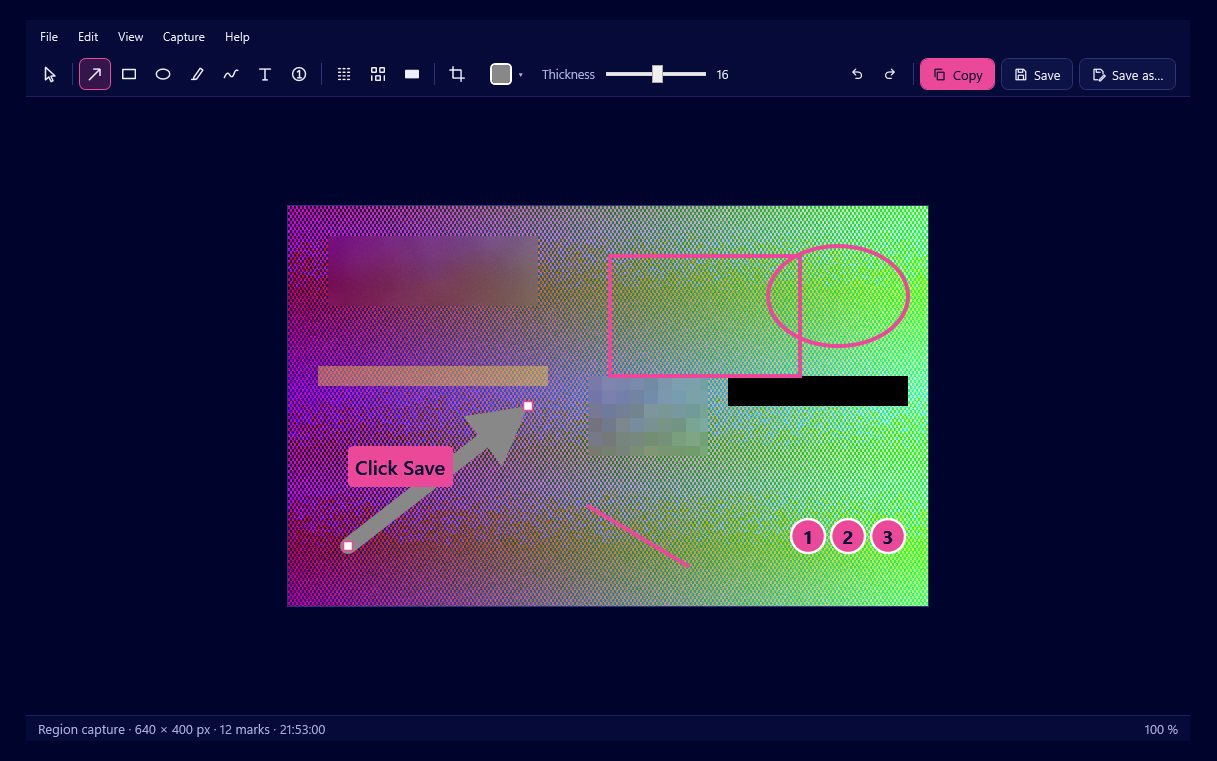
Cropping in Snap by Zaweba happens in the editor. After a capture, choose the crop tool, drag it to the area you want to keep, and that is the picture you copy or save. Snap keeps the uncropped original inside its editable file, so you can change your mind and widen the crop later without taking the screenshot again.
Many people crop by taking the shot a second time with a tighter box. In Snap you rarely need to.
From capture to crop
Capture something. Print Screen lets you drag a region, Alt+Print Screen takes the active window and Ctrl+Print Screen the full screen. The editor opens straight away.
Pick the crop tool and drag over the part you want to keep. Everything outside it is left out of what you share. You can still add arrows, text, numbered markers and highlights as usual, and the crop decides what ends up in the exported picture.
Press Ctrl+C to copy the cropped result to the clipboard, or Ctrl+S to save it as a PNG or JPG in Pictures\Snap by Zaweba.
Crop at capture or crop afterwards
The region capture is already a precise crop. The desktop is frozen across every monitor, a live label shows the size of the box, and a magnifier at eight times shows each pixel with a grid. The arrow keys move the selection one pixel at a time, or ten with Shift, and Enter takes it. If you know exactly what you want, framing it there is quickest.
The crop tool earns its place when you are not sure. Take a slightly generous capture, add your marks, and then crop once you can see how the picture reads. It is also the answer when you started with a full screen or window capture and only part of it turns out to matter.
Changing the crop later
When you save a capture as an .ozsnap, or open it from the history of your last 50 captures, the file holds the original capture, every mark, the crop and a small preview. Reopen it and you can make the crop larger to show more context, or smaller to tighten it, without anything lost. Edits save back into the same file.
That is useful for instructions you update over time. A screenshot cropped tight for a chat message can be opened again and cropped wider for a printed guide.
Cropping and privacy
Exports use only the cropped result. Whatever lies outside the crop is never in the PNG or JPG you send, which makes cropping a simple way to keep a busy desktop, open tabs or other windows out of a shared picture.
Redactions are applied before the crop. If you blur or black out something near the edge, the crop does not undo it. For anything that must stay private, keep two things in mind: crop away what is not needed, then blur, pixelate or black out what is left. The editable .ozsnap still contains the full, unblurred original, so share a PNG or JPG and keep the .ozsnap for yourself.
Tidy edges
A few pixels of a neighbouring window along the edge make a screenshot look careless. Zoom in with Ctrl and the mouse wheel to check the edges, press Ctrl+1 for actual pixels and Ctrl+0 to fit the whole picture back on screen. Adjust the crop until the edge falls cleanly on the panel or window border you want.

