
How to pick a colour for your screenshot annotations
In Snap by Zaweba's editor, the colour picker offers presets, any hex colour and the last eight colours used, and each tool remembers its own choice.
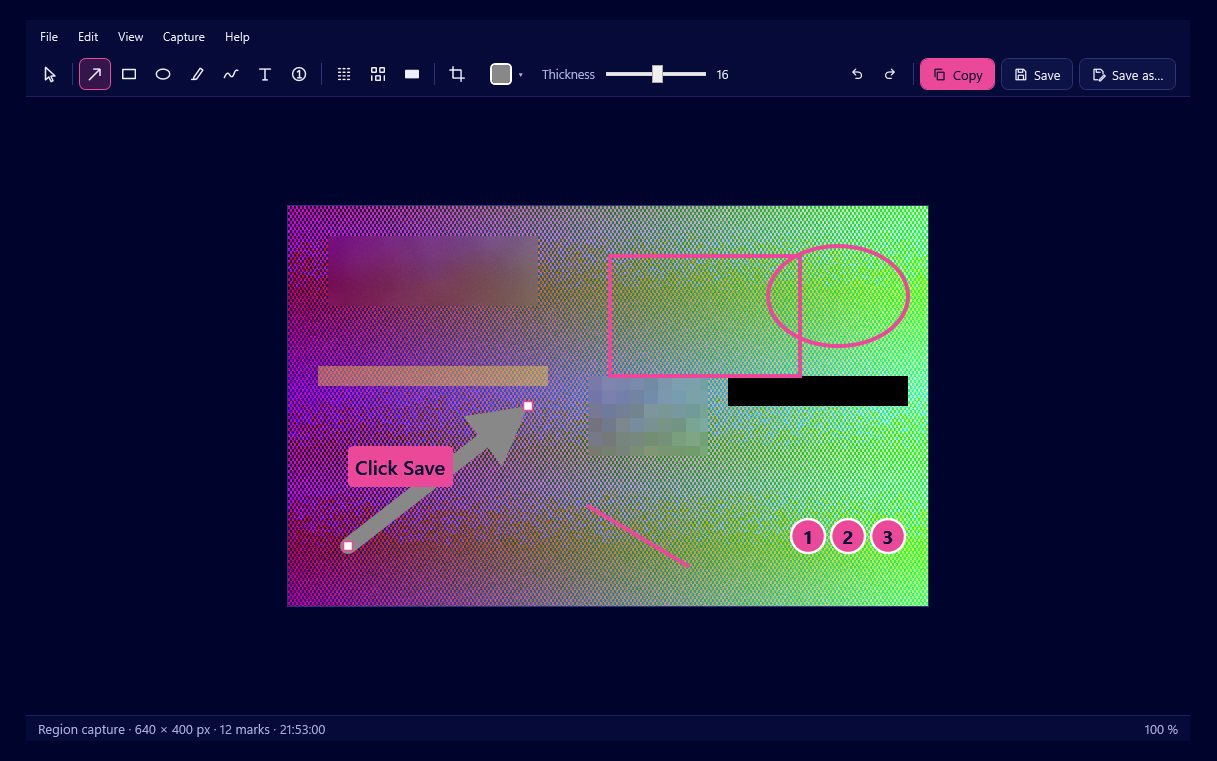
One colour picker serves every mark in the editor of Snap by Zaweba. It offers a set of presets, lets you type any colour as a hex value in the form #RRGGBB, and keeps the last eight colours you used close at hand. Choose a tool, pick a colour, and draw.
Colour is the quickest way to make an annotation stand out from the screenshot underneath, so it is worth a moment's thought.
Colouring a mark
After a capture, the editor opens. Select the tool you want, such as an arrow, rectangle, ellipse, highlighter, pen or text box. Open the colour picker and click a preset, or type a hex value if you need an exact colour. Draw the mark.
To change the colour of a mark you have already drawn, select it, then pick a new colour. Marks stay editable until you export, so you can try a few colours and keep the one that reads best. Undo and redo go back 200 steps if a change goes wrong.
Each tool remembers
Snap remembers settings for each tool separately. If your arrows are red and your highlighter is yellow, switching between them does not reset either. That makes a consistent style easy: once you have chosen colours that work, every screenshot in a set looks the same without you thinking about it.
The last eight colours list helps with the same thing across sessions. A house colour you typed in once stays one click away.
Choosing colours that work
Contrast matters more than taste. Most interfaces are white, grey or dark, so a strong red, orange or magenta stands out on either. Avoid colours already used heavily in the app you are capturing; a blue arrow on a blue toolbar disappears.
The highlighter works best with a light, bright colour, because it is laid down at 40 per cent strength and the text has to show through. Yellow on white pages is the classic; green or pink can be better on screens that are already warm.
For text boxes, the background choice does as much as the colour. A filled background puts the text on a solid block, an outline frames it, and a halo lifts plain letters off any picture. Pick the text colour first and then the background that makes it readable.
Matching a brand or document
If your screenshots go into a manual, a slide deck or a help site with its own colours, type the exact hex value once. It joins the last eight colours and the tool remembers it. That keeps your annotations in line with the rest of the document.
Meaning by colour
In instructions, a simple code helps readers. You might use one colour for things to click, another for things to read, and black out for things that are hidden. Keep the code small; two or three colours are plenty, and too many make a screenshot look busy.
Checking the result
Zoom in with Ctrl and the mouse wheel to look closely at a mark, press Ctrl+1 to see actual pixels, and Ctrl+0 to fit the picture back on screen. When it looks right, Ctrl+C copies it and Ctrl+S saves it into Pictures\Snap by Zaweba.

