
Snap by Zaweba on Mac and Linux: what changes
Snap by Zaweba 1.0.6 runs on macOS and Linux with the same files, settings and history. How the tray, region picker and hotkeys differ on each system.
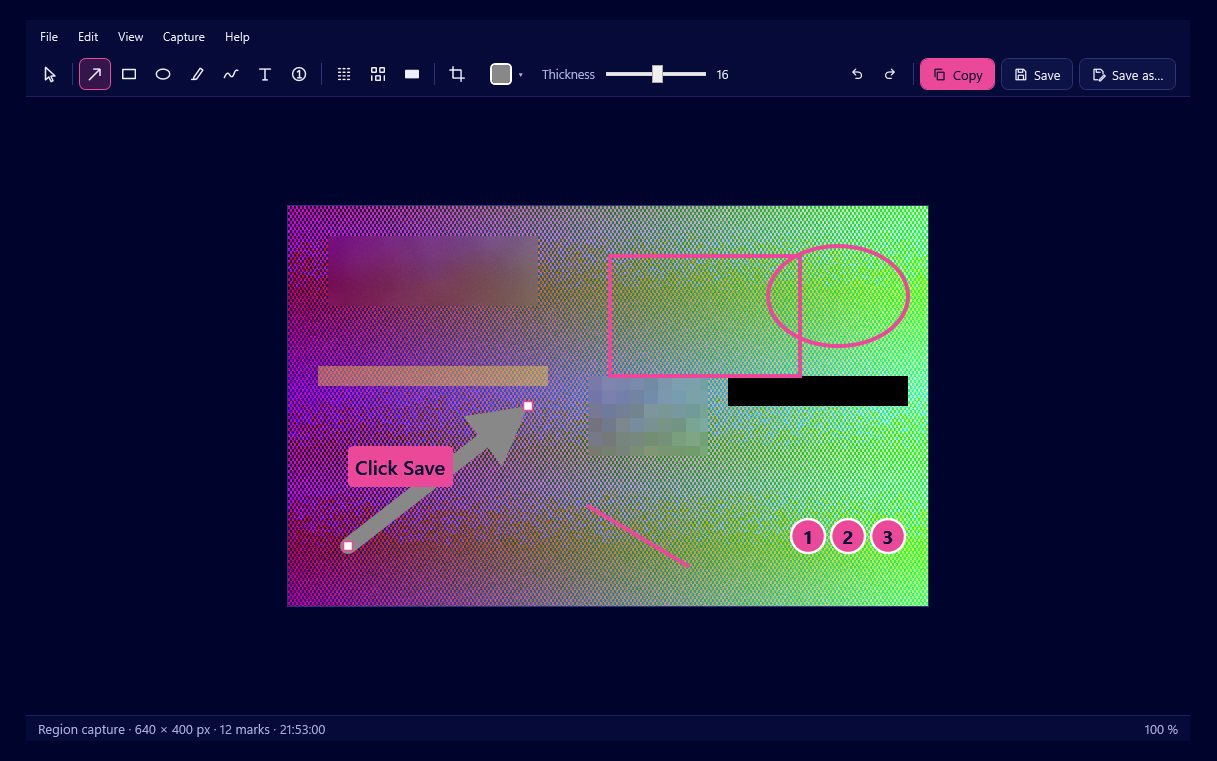
Version 1.0.6 of Snap by Zaweba runs on macOS and Linux as well as on Windows, where it started. The editor, the annotation tools, the .ozsnap files, the settings and the history are the same on every system. What changes is how Snap fits into each desktop: where its icon sits, how you pick a region and which keys start a capture.
If you have used Snap on Windows, you will feel at home quickly. If you are new to it, this is what to expect.
The same files and history everywhere
An .ozsnap is a ZIP of the original capture, every mark, the crop and a small preview. Because the Mac and Linux version uses the same files, a screenshot marked up on a Windows PC can be reopened on a Mac with every arrow and blur still editable, and the other way round. Settings and the history of your last 50 captures work the same way too.
That suits mixed households and offices, where the person writing the instructions and the person correcting them may not use the same kind of computer.
Menu bar or system tray
On Windows Snap lives in the notification area. On a Mac it lives in the menu bar, and on Linux in the system tray. The idea is the same: Snap waits quietly in the corner until you need it.
Picking a region
How you choose an area depends on the system, because each one handles screen capture differently.
On Linux under X11, Snap uses its own region picker, the same kind of overlay as on Windows: drag a box or pick a window.
On macOS and on Linux under Wayland, Snap uses the system's own picker. These systems control screen capture closely for privacy, so the system draws the selection and hands the picture to Snap. Once the capture is taken, it opens in Snap's editor as usual.
Hotkeys on each system
On a Mac, Shift+Cmd+2 captures a region. On Linux under X11, Print Screen does, as it does on Windows. Under Wayland, applications cannot simply claim a global key, so you set up a desktop shortcut that runs the capture command. Most Linux desktops let you add a custom shortcut in their keyboard settings; point it at Snap with the region capture option and choose whatever keys you like.
The command line is the same idea on every system: Snap can be given options such as capture region, full, window or repeat, and a second copy passes them to the one already running.
The editor is the editor
Once a capture is in the editor, the work is the same everywhere. Arrows, rectangles and ellipses, highlighter and pen, text boxes with a filled, outlined or halo background, and numbered steps. Blur, pixelate and black out, applied to the actual pixels when you export. Crop, with the original kept in the .ozsnap. Two hundred steps of undo, a colour picker with presets, hex colours and your last 8, and zoom for fine work.
Copy and save work as you would expect, with PNG, JPG and .ozsnap.
Your first capture on a Mac or Linux PC
Install the version for your system and start it. Find its icon in the menu bar or tray. Try a region capture with your system's hotkey, or on Wayland set up your desktop shortcut first. Add an arrow, copy it and paste it somewhere to check everything works end to end.
Then use it as you would on Windows. Snap by Zaweba is still a tray app for quick, clear screenshots, just on more desktops than before.

