
Undo, redo and fixing marks in Snap by Zaweba
Snap by Zaweba keeps 200 steps of undo, lets you move, resize and nudge any mark, and offers preset, hex and recently used colours.
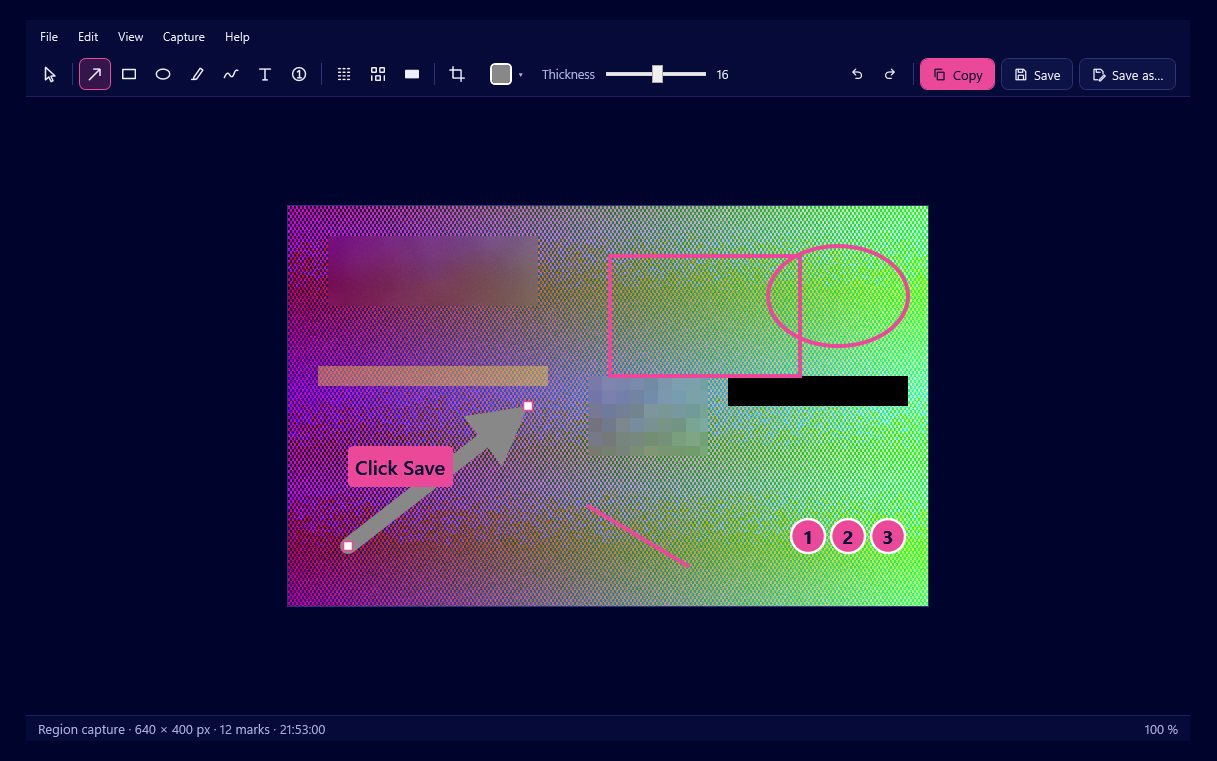
Annotating a screenshot is quick work, and quick work goes slightly wrong all the time. Snap by Zaweba is built so that fixing it is quicker still. There are 200 steps of undo and redo, every mark can be selected and changed after you draw it, and the editor has a colour picker and zoom controls that make careful work easy.
The idea is simple: draw first, tidy afterwards. You should never have to start a screenshot again because one arrow landed a few pixels off.
Two hundred steps back
Undo and redo walk back and forward through your edits. Two hundred steps is far more than a typical screenshot needs, which means you can experiment freely. Try a red arrow, then a blue one, add a text box and take it away. Nothing is lost until you decide it should be.
Marks stay editable
Arrows, rectangles, ellipses, highlighter and pen strokes, text boxes and numbered steps are all marks rather than paint. Click one to select it. Drag it to move it. Pull its handles to resize it. Use the arrow keys to nudge it a little at a time, which is the easiest way to line an arrow up with a button. Press Delete to remove it.
That makes a real difference in practice. A box that is slightly too big can be tightened. A numbered step can be moved off the button it is hiding. A text label can be shifted so it does not cover the very thing it describes.
Marks stay editable until you save or export a PNG or JPG. If you also keep the .ozsnap file, or reopen the capture from the history of your last 50, they are editable again later, so you can change an arrow next week.
The colour picker
The colour picker offers a set of presets for quick choices, any colour you can write as #RRGGBB, and the last 8 colours you used. That last row is the most useful in daily work. If your instructions always use one particular red for arrows and one blue for text, they are right there.
Typing a hex colour is handy when screenshots have to match a document or a brand colour you already know. It also means two people can use exactly the same colour if they agree it.
Each tool remembers its own size, and the highlighter and pen remember their colour and thickness too, so once you have set things up how you like them, they stay that way.
Zooming for fine work
Ctrl and the mouse wheel zoom in and out. Ctrl+0 fits the whole picture to the window, and Ctrl+1 shows actual pixels, one screen pixel per captured pixel. Zoom in to place a small arrow precisely or to check that a blur covers every character, then press Ctrl+0 to see the whole result.
Habits that make annotating faster
Draw without fussing, then fix. It is quicker to drop an arrow roughly and nudge it than to try to land it perfectly.
Pick your colours once. Use the hex box to set the two or three colours you like, and let the recent colours row keep them handy.
Check at actual pixels before you share. Ctrl+1 shows the picture exactly as the person receiving it will see it at full size.
Keep the .ozsnap if you might need changes. Copy or save a PNG or JPG to share, and the editable version stays in the history.
How it fits together
Snap is meant to be fast: press Print Screen, drag a box, draw an arrow, copy. Undo, redo and editable marks are what keep that speed from costing you neatness. They let Snap by Zaweba stay quick without asking you to be perfect first time.

